Observing World Backup Day 2019, featuring the WD My Passport portable hard drive
Today, March 31, is the annual World Backup Day. I’ve never written about it before, but my newest (and thus most current) backup drive kicked the bucket in January this year, leaving me out of a current backup solution for both my Mac and PC as well as resulting in a significant but non-critical loss of data. So I decided for the occasion that I’d use the opportunity to write about my experience with a new, upgraded backup solution, as well as measures I’ll be taking to prevent or at least mitigate another data loss like the last.
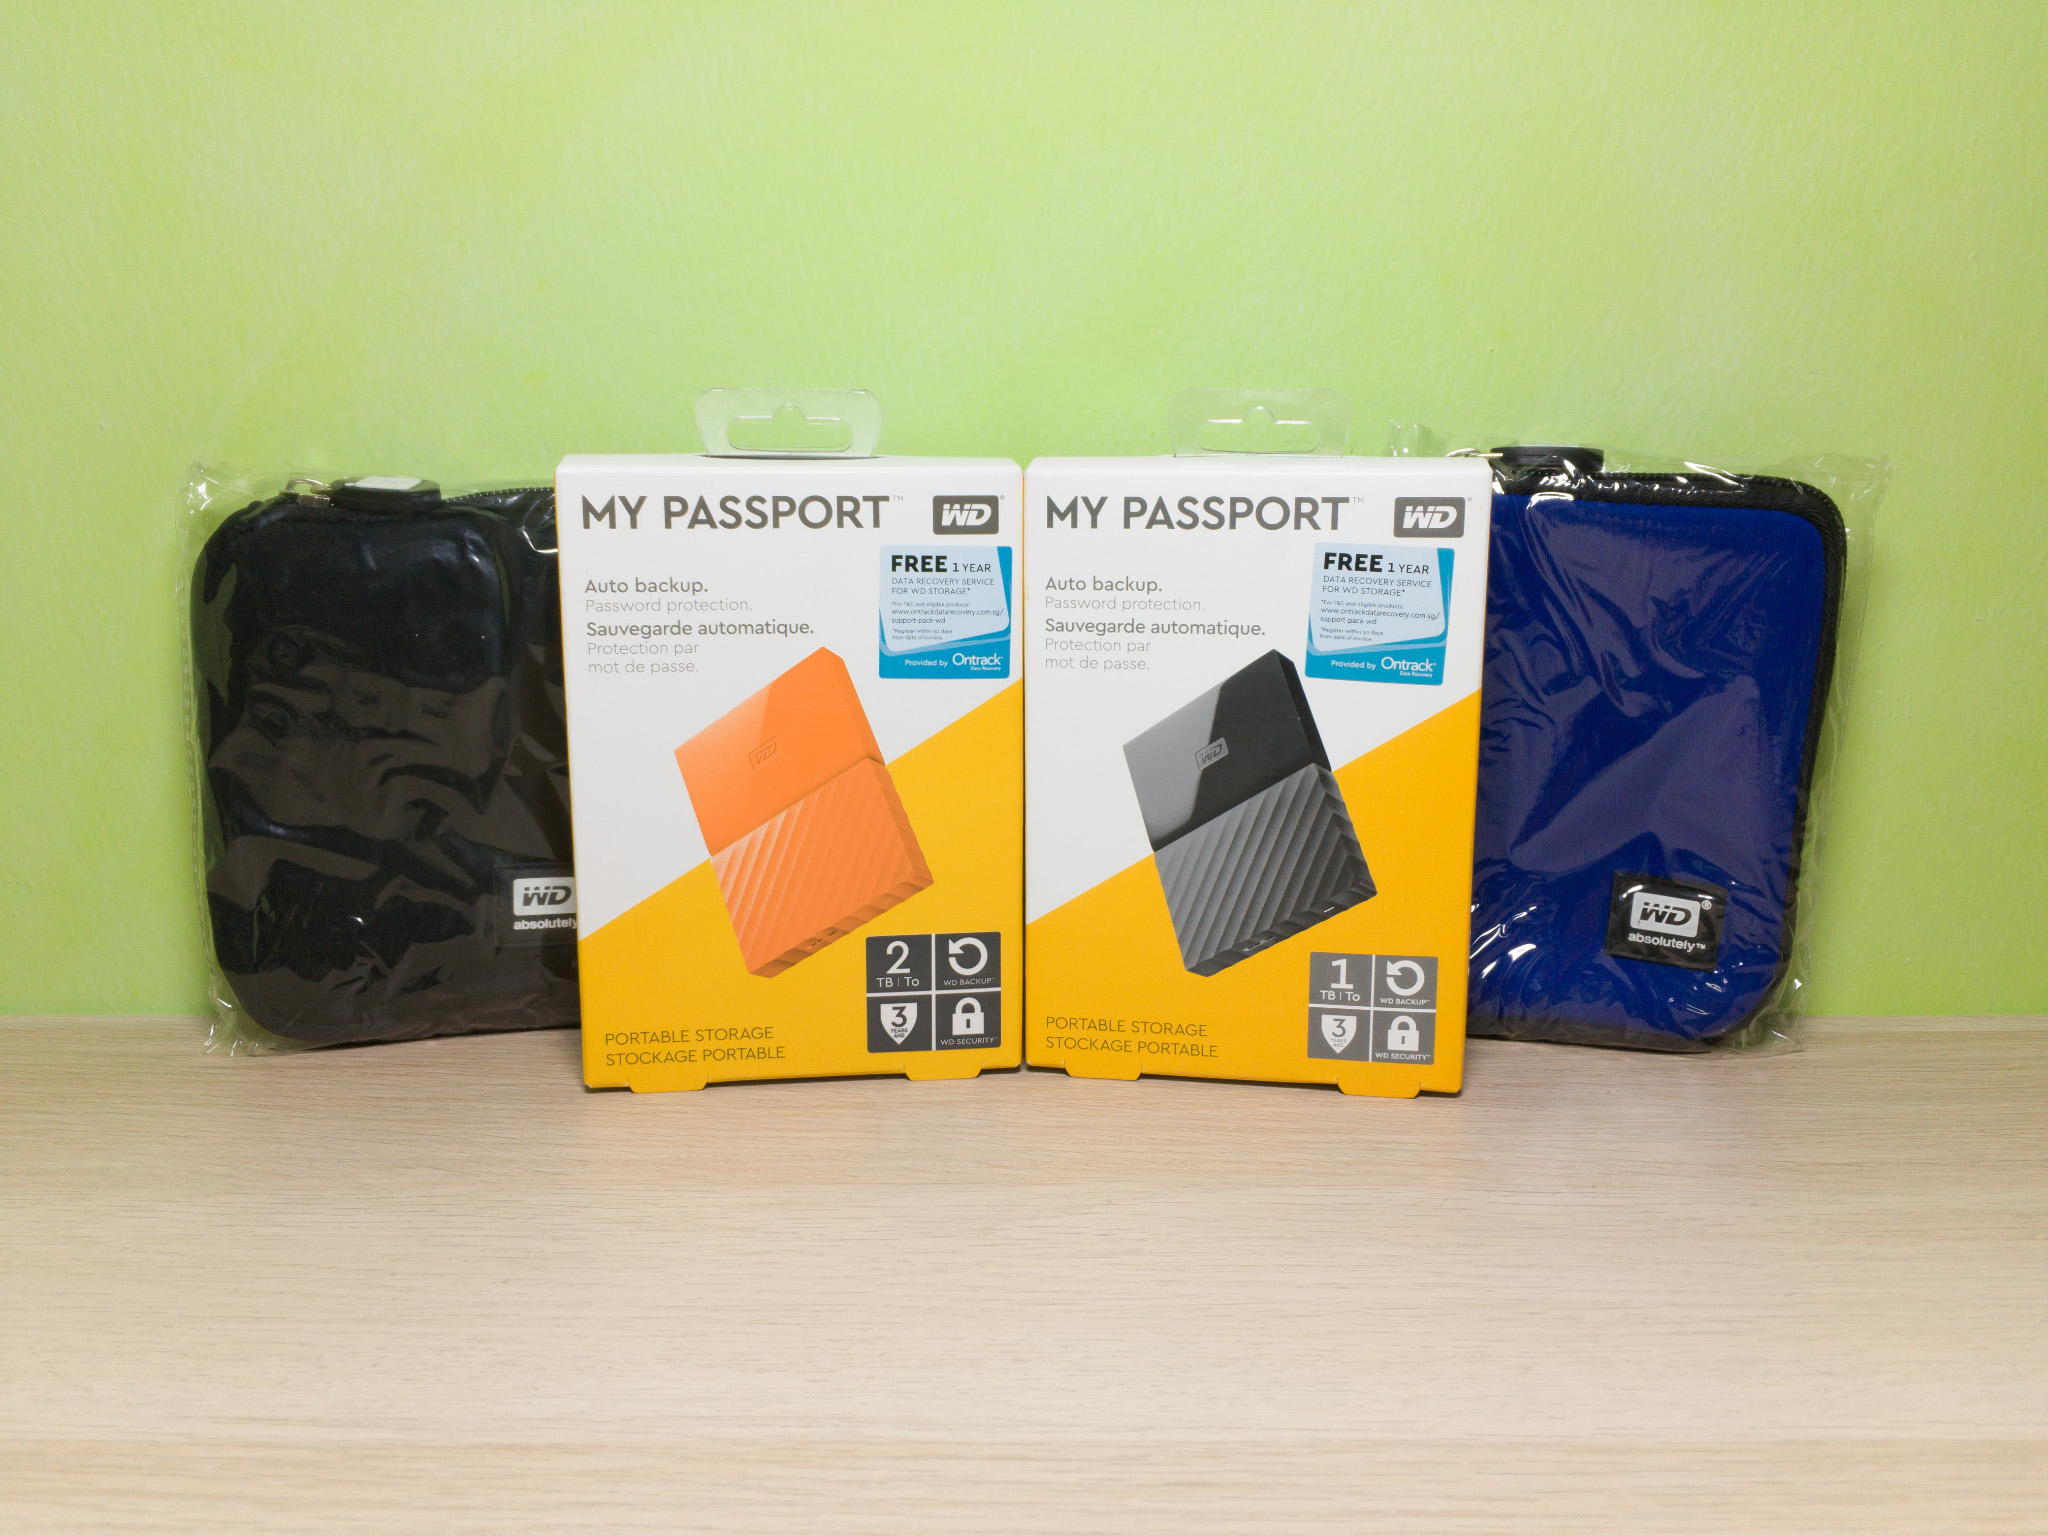
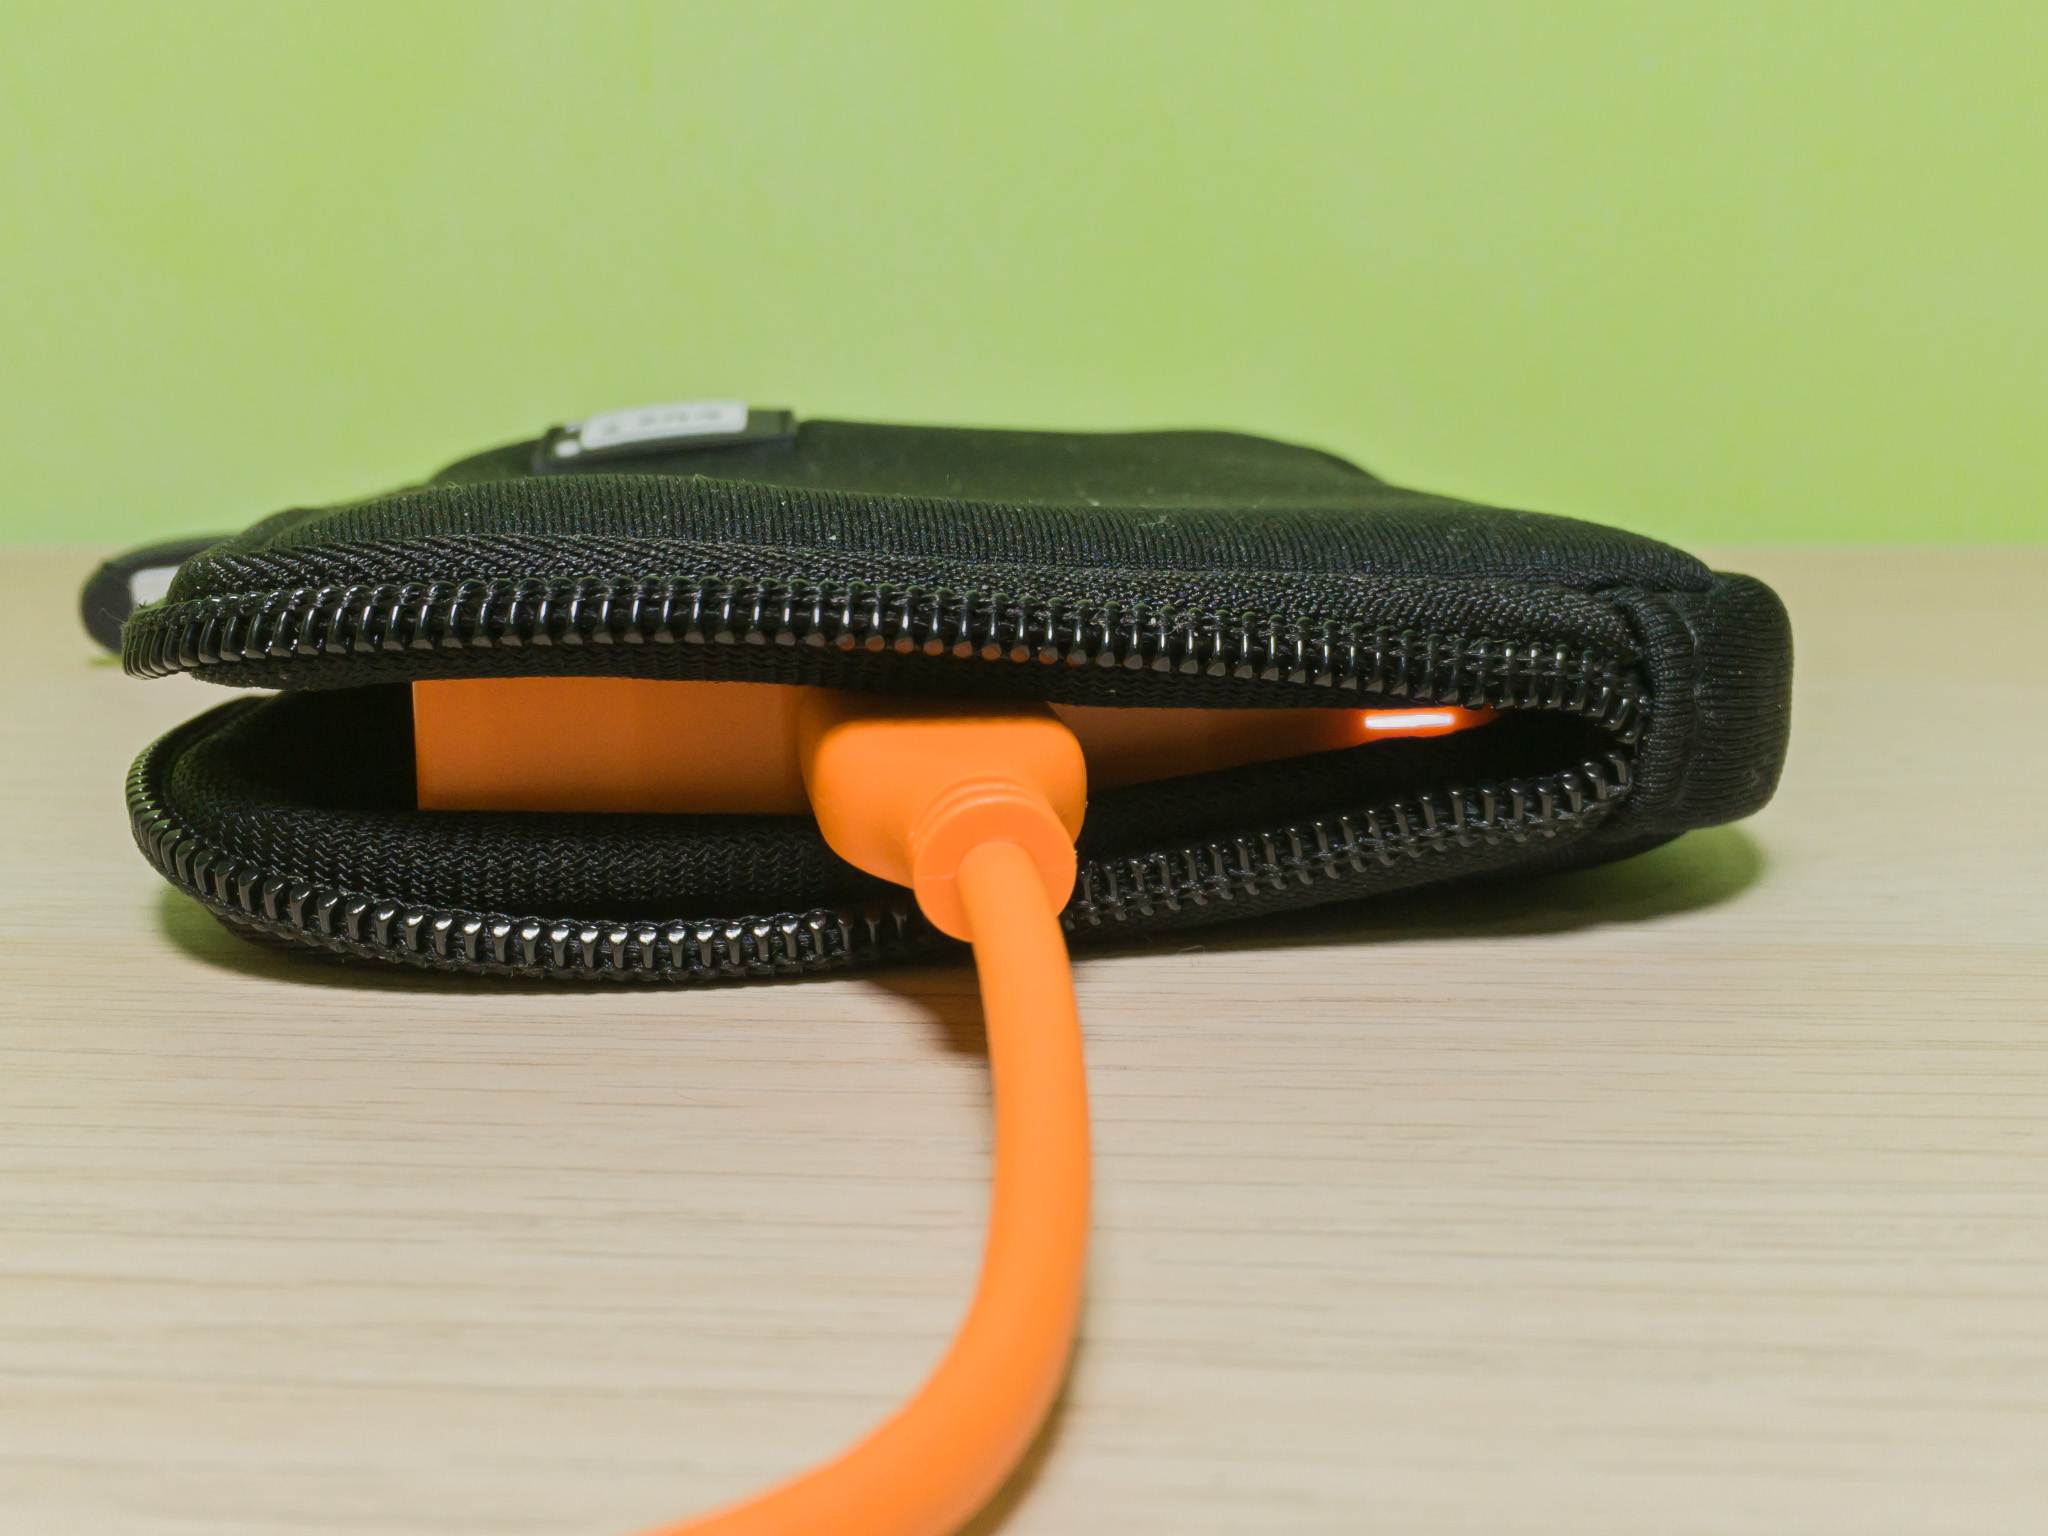
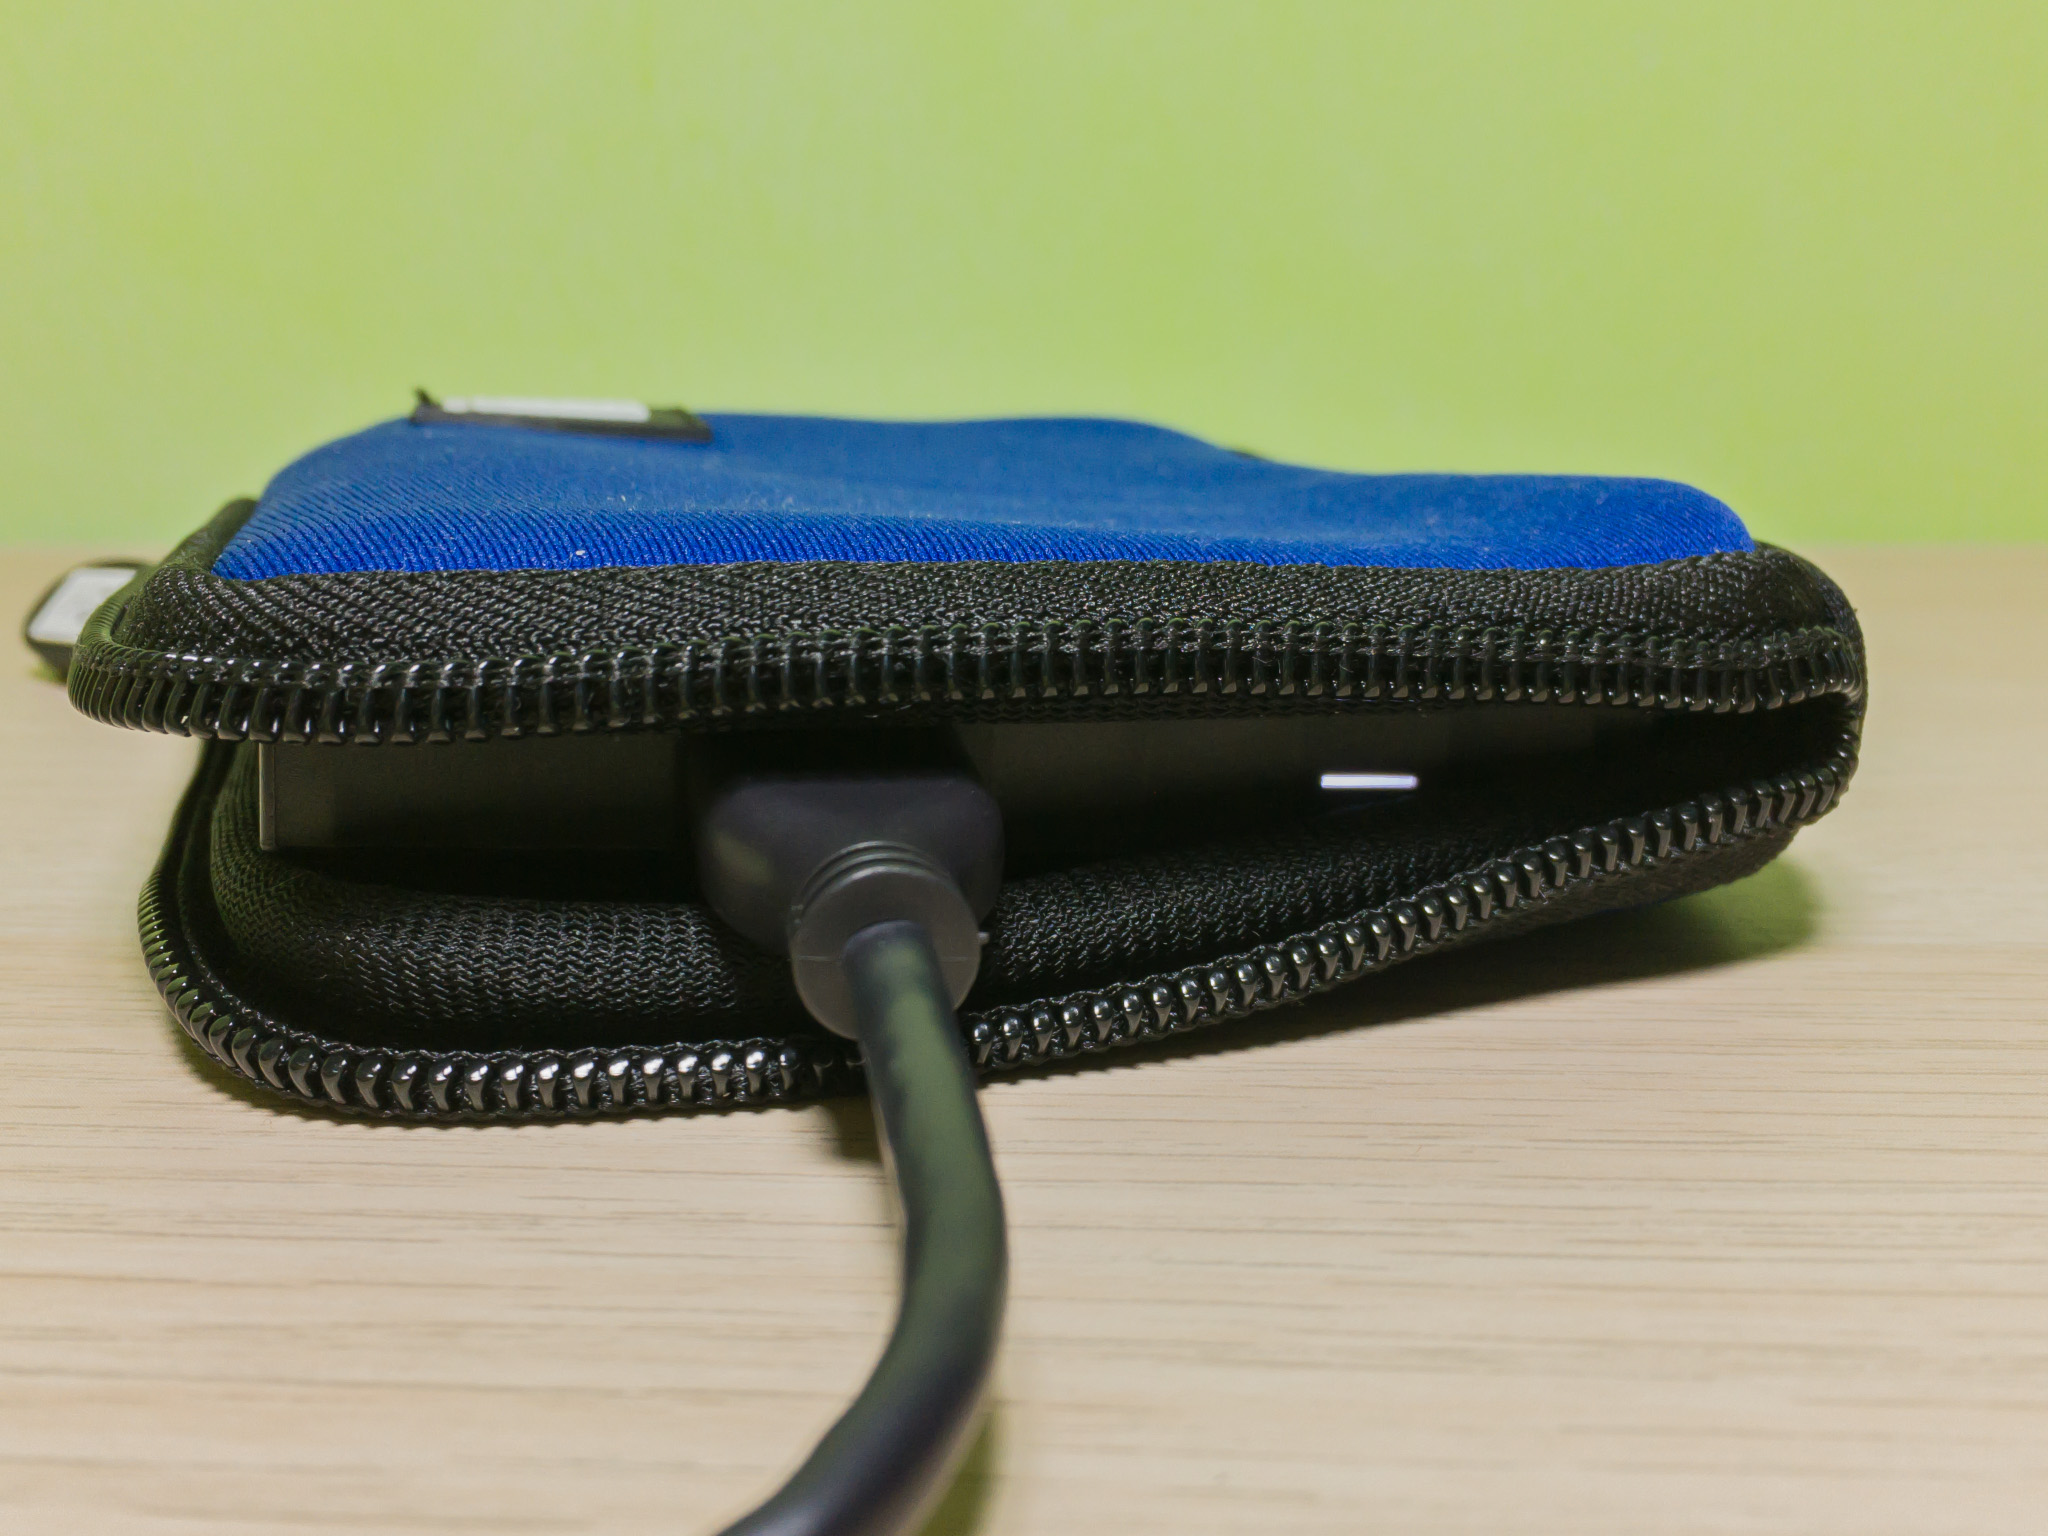
Earlier this month, my dad picked up some brand new hardware for me: not one, but two WD My Passport USB 3.0 portable hard drives, an orange 2 TB drive and a black 1 TB drive. The smaller capacity of the latter is due to budget constraints, but the idea is that the orange one will be my primary backup drive and the black one will be used for redundancy. The black and blue carrying cases you see were gifts with purchase!
In this entry I’ll describe my newest backup strategy and how it improves on the last, as well as provide some unboxing and in-action photos of my new WD My Passport drives.
My new WD My Passport portable hard drives
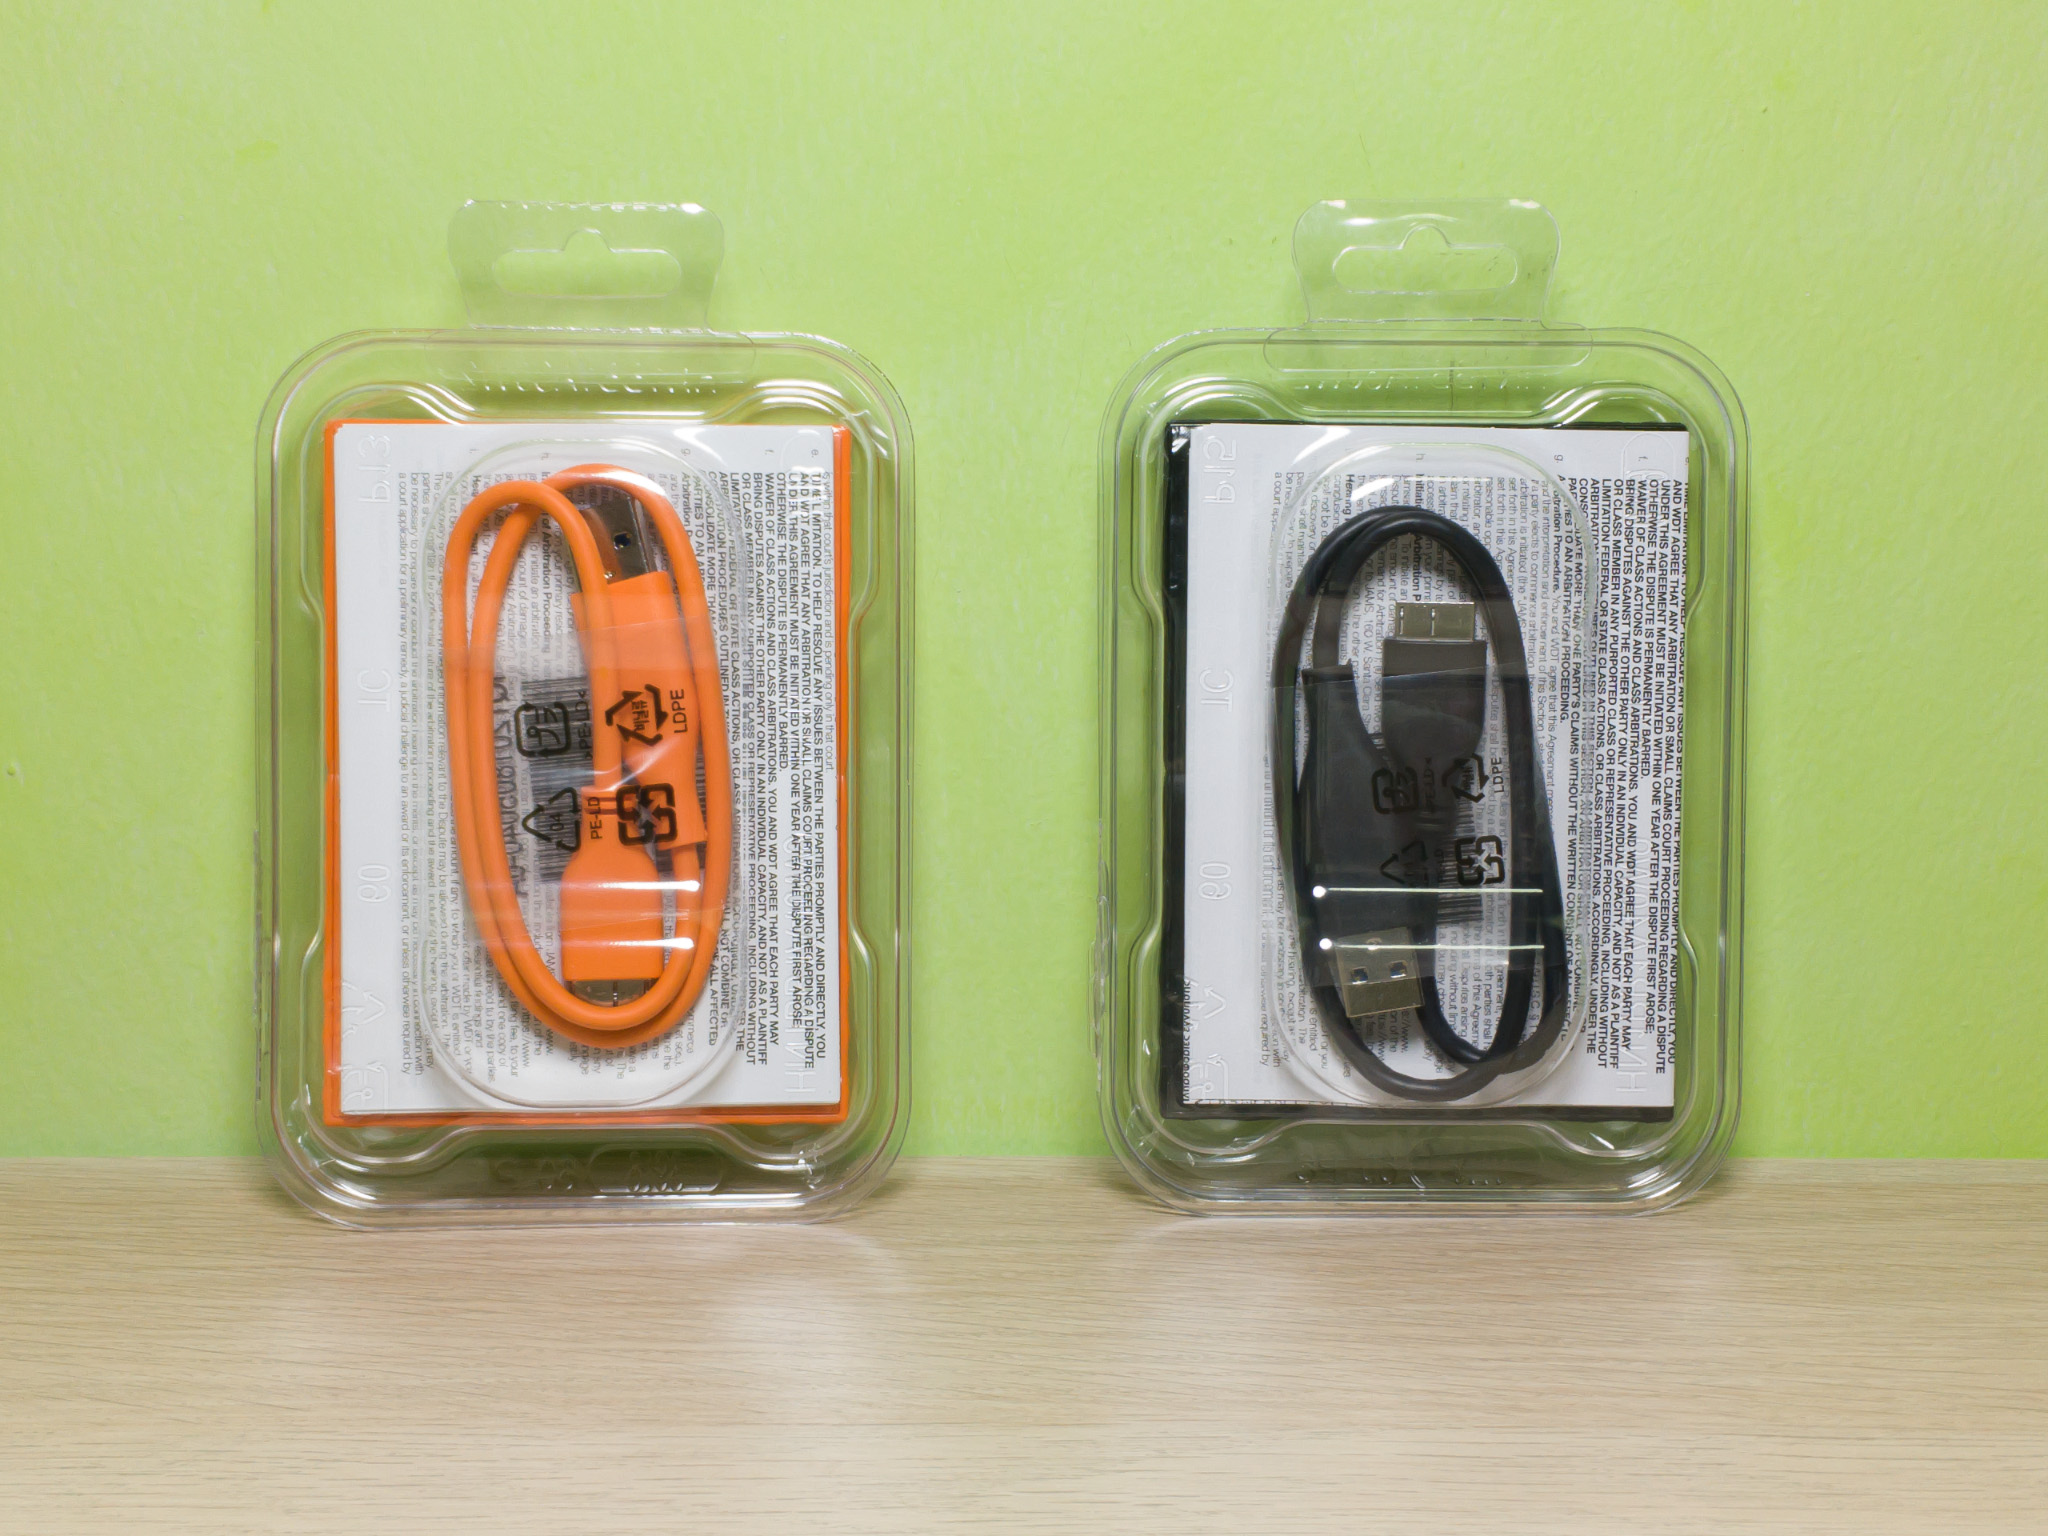
The WD My Passport drive comes in capacities from 1 TB to 4 TB, and six colors: black, blue, red, orange, yellow and white. The USB 3.0 cable that comes with it is color-matched. I chose orange for my primary backup drive because it pairs excellently with the lime green walls of my new room, and in fact just a few months ago I got a new desk chair with a similar orange, black and dark grey color scheme. Which reminds me, I really should get around to updating my battlestation one of these days.
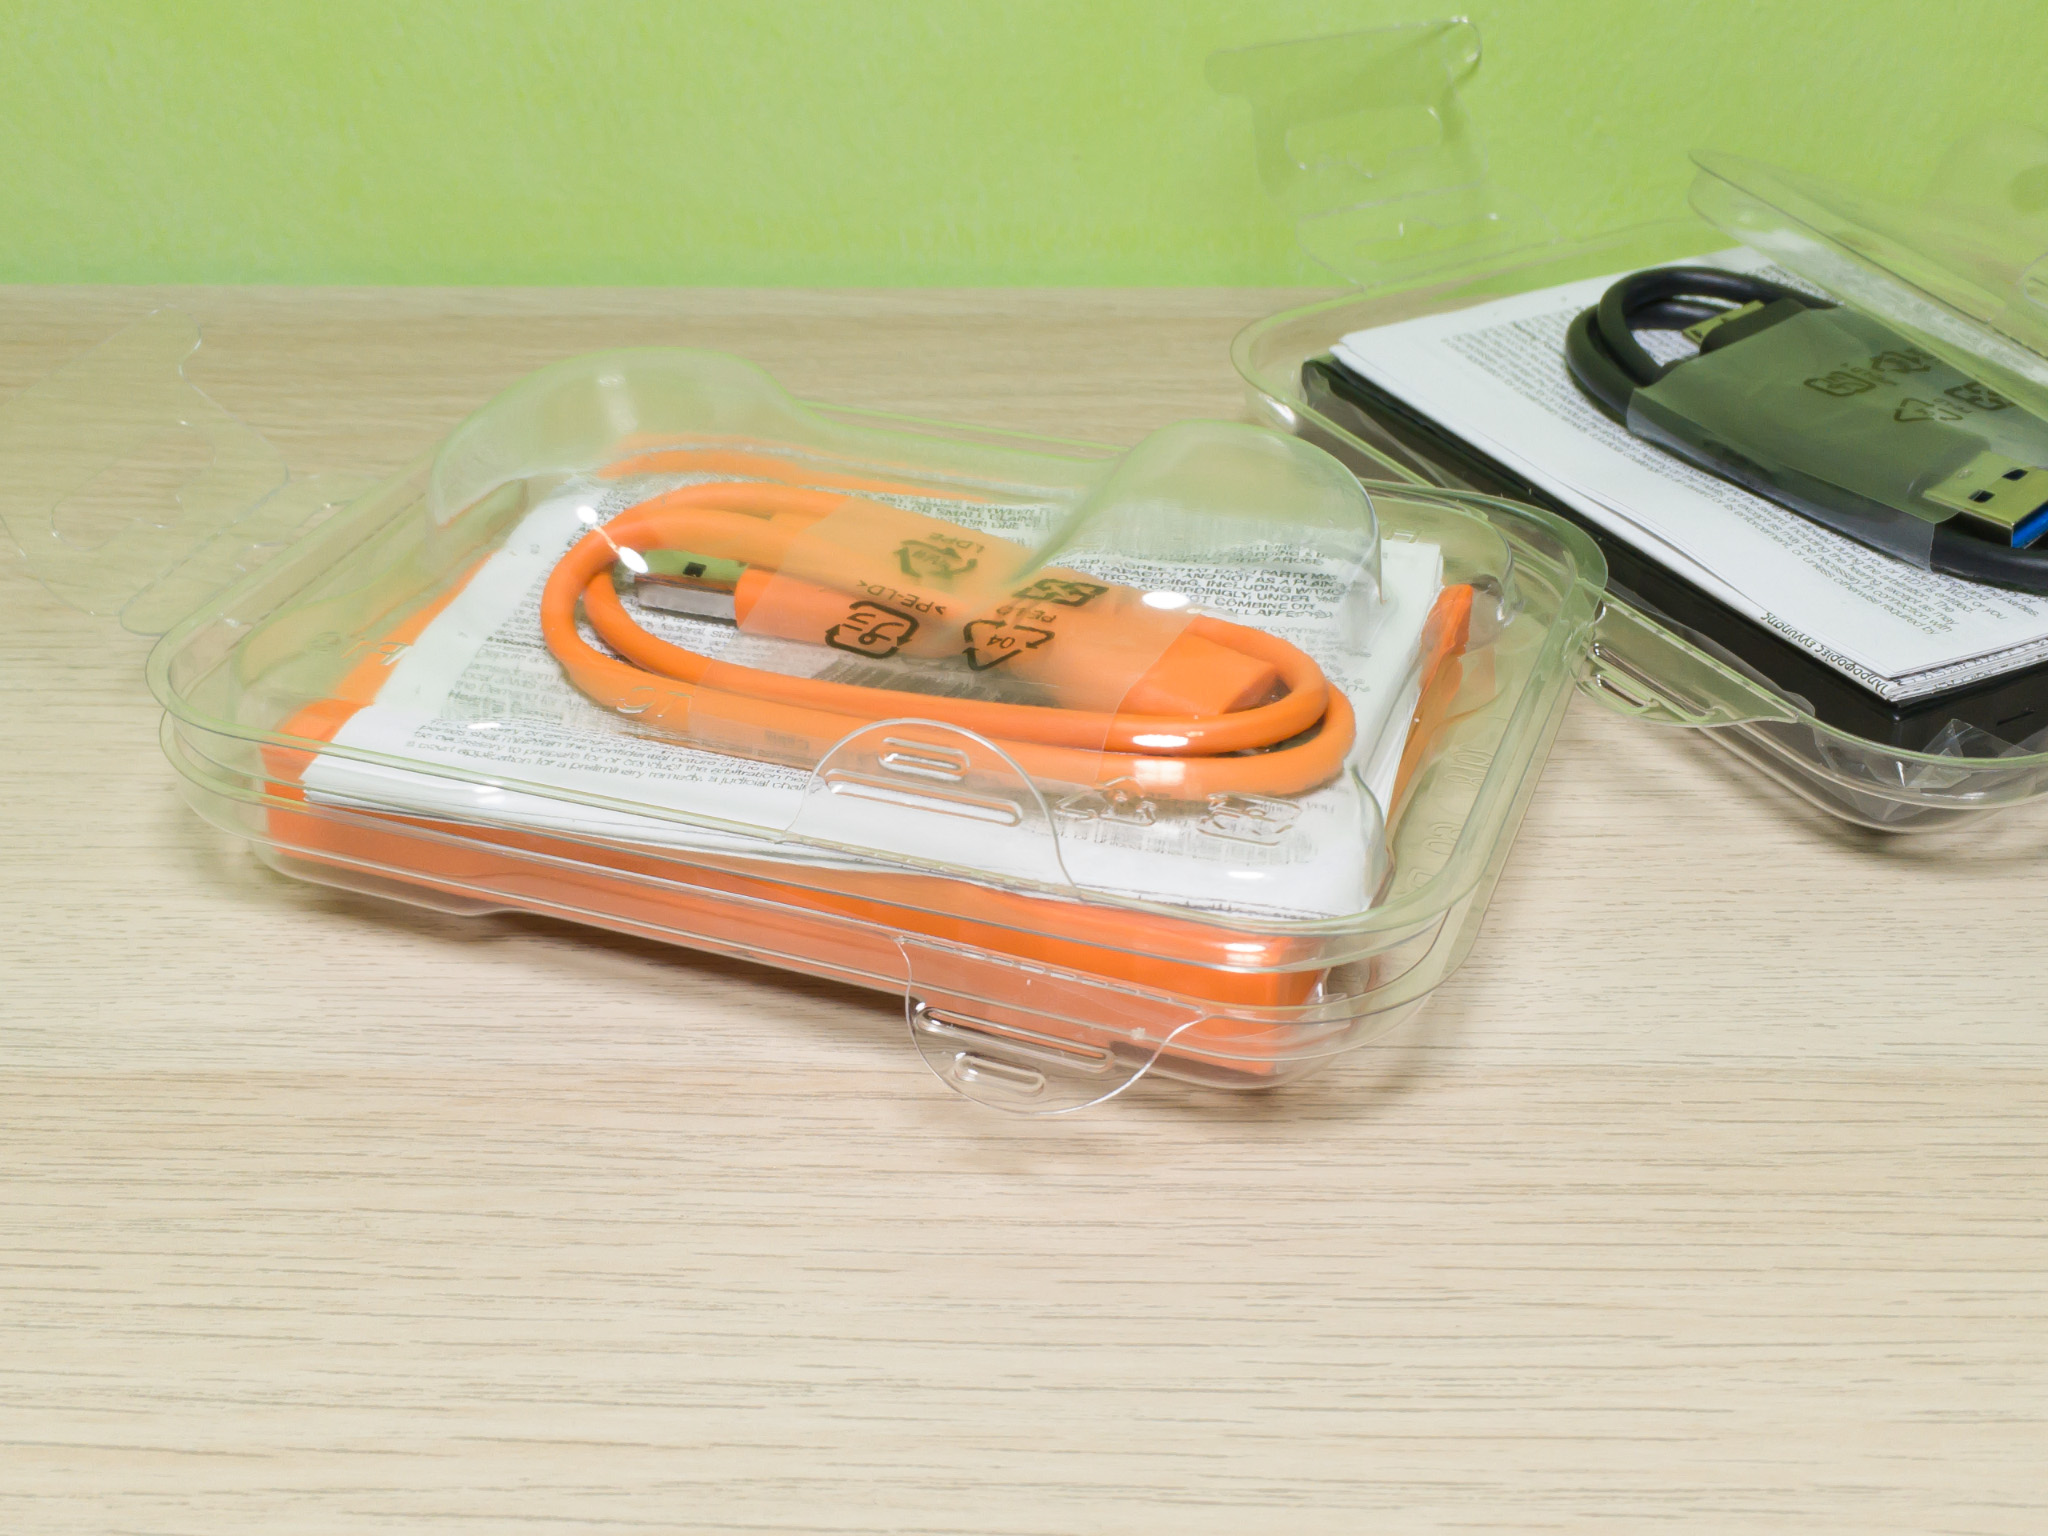
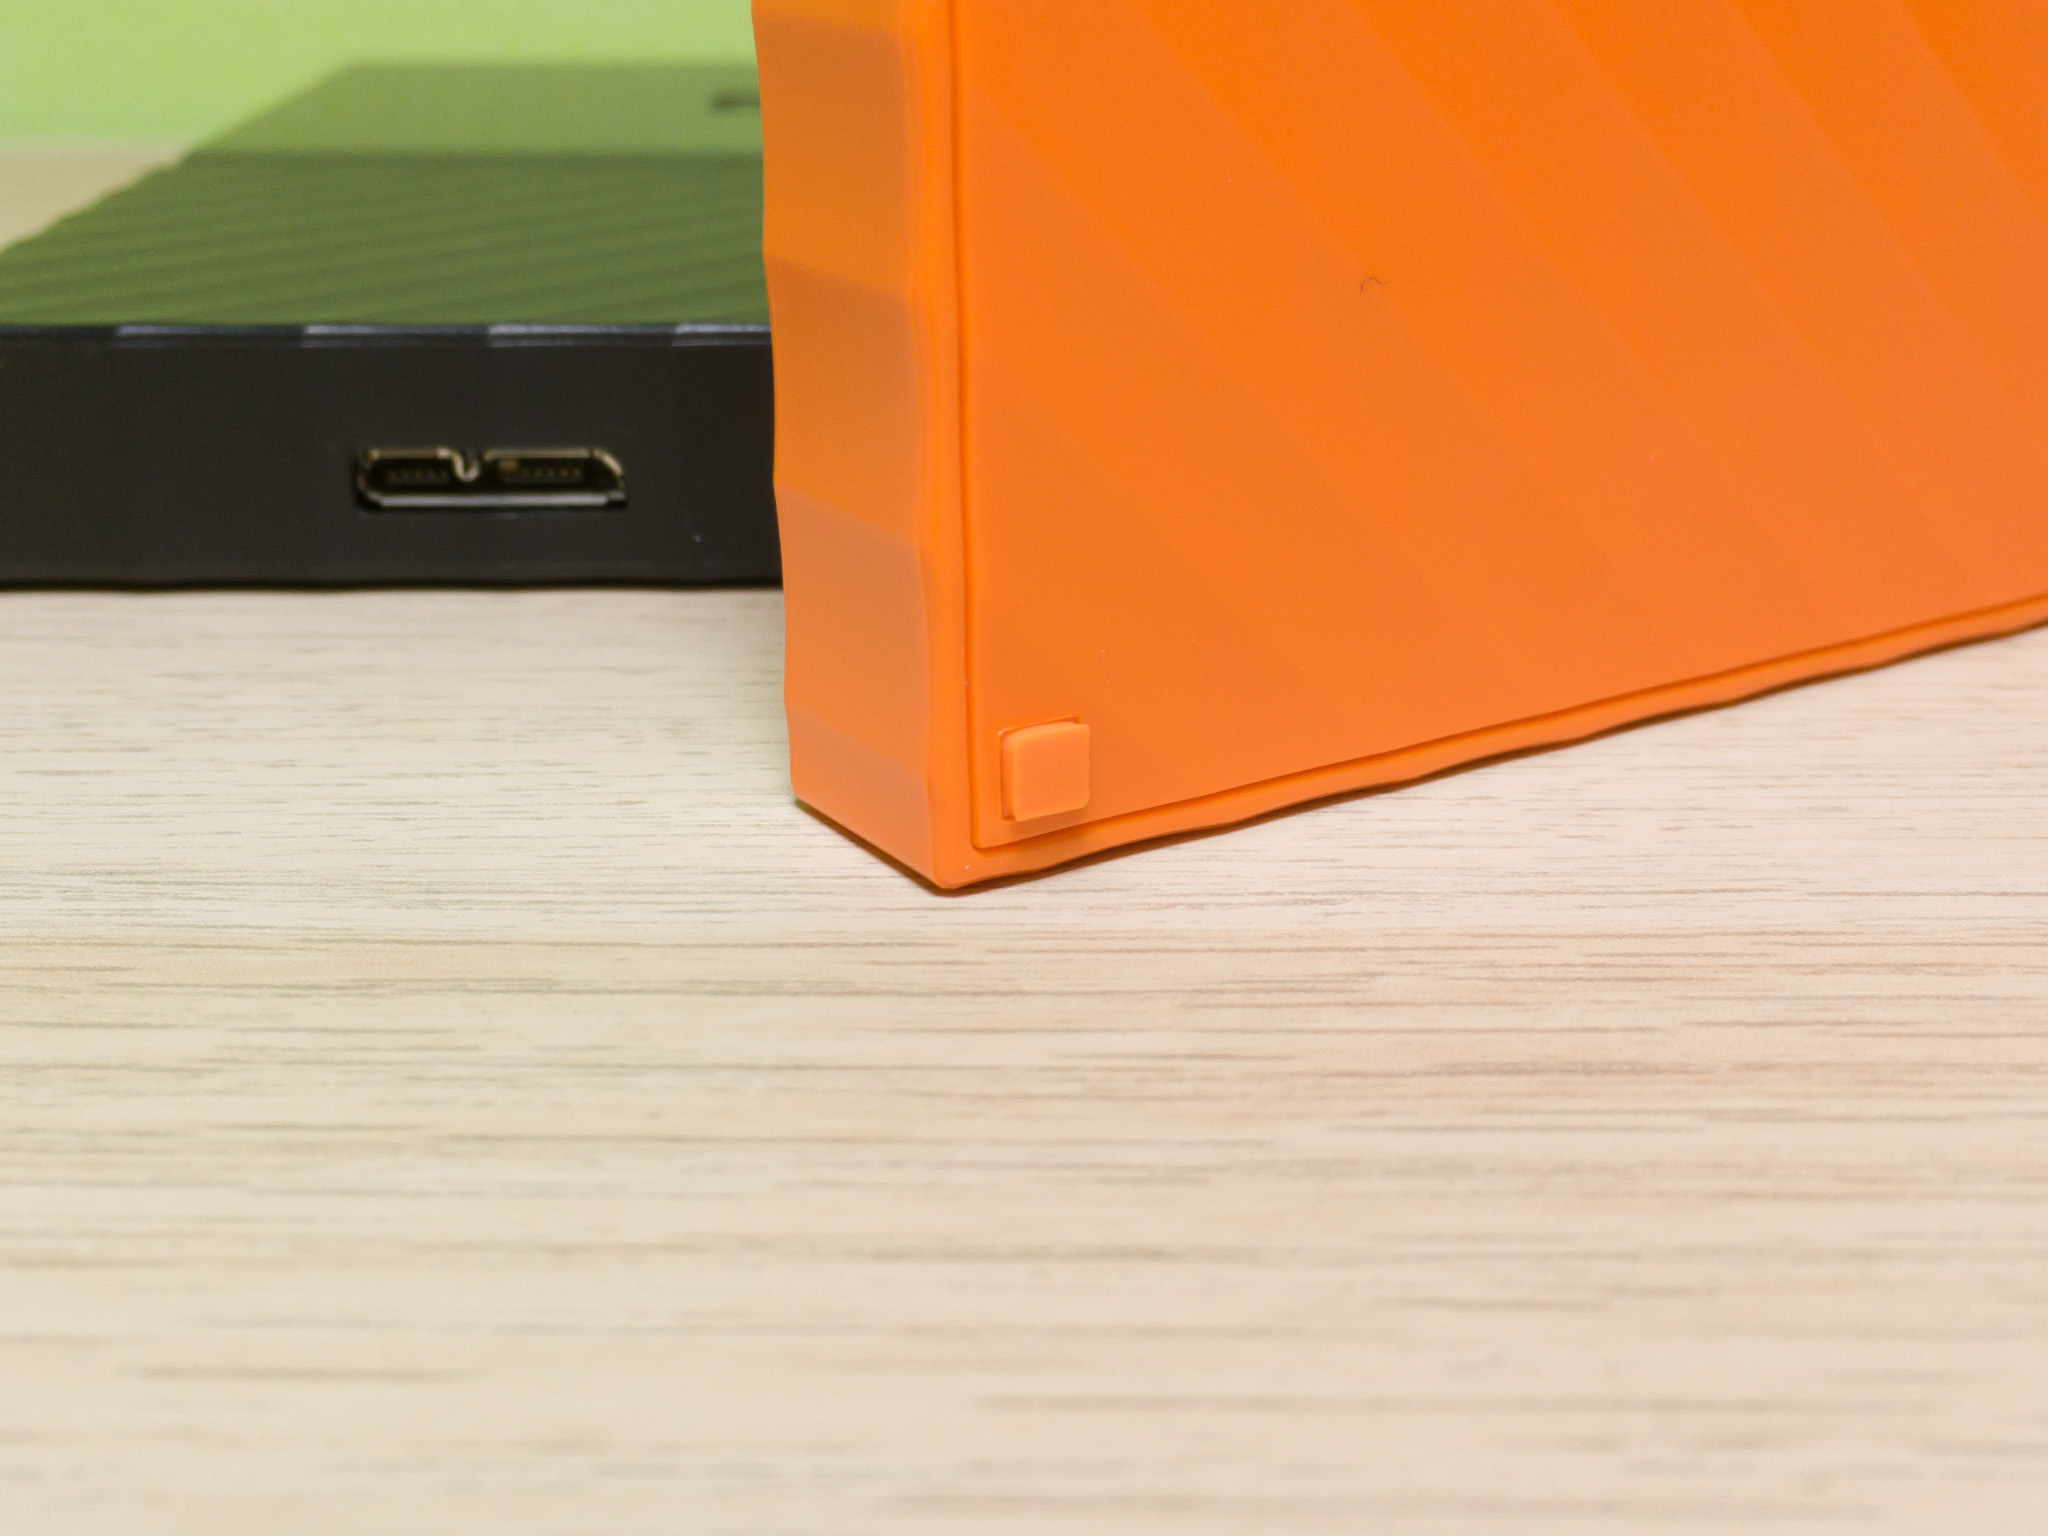
This isn’t a new model; it’s been around for a couple of years. That said, here are some unboxing photos of both of the drives I got if you’re unfamiliar with the product. You’ll also get to see what they look like in the complimentary carrying cases — I’ve given the orange drive the black case and the black drive the blue case, because I like the orange and black combination and it has nothing to do with Orange is the New Black, and I wanted to be able to visually distinguish the black drive from its case, given that it’s all black inside.


My approach to backup
My previous drive was a 1 TB USB 3.0 portable hard drive split evenly into two 500 GB partitions, an HFS+ one for my Mac and an NTFS one for my PC. For my new setup, I will be once again reserving 500 GB per WD My Passport drive for my Mac, leaving 1.5 TB of the orange one and 500 GB of the black one for my PC. I haven’t decided what I want to do with the extra 1 TB of the orange one yet — I hope I won’t begin to need it too soon.
There is a Mac version of the WD My Passport, which is really just a My Passport drive formatted for use with macOS out of the box, designed for less hardware-savvy Mac users. There are no physical differences in the hardware to my knowledge. To that end, PC users who know their way around disk partitions don’t need to worry which version of the drive to get — they can all be partitioned and formatted any way you like. That said, here’s what comes preloaded in the PC version of the WD My Passport:
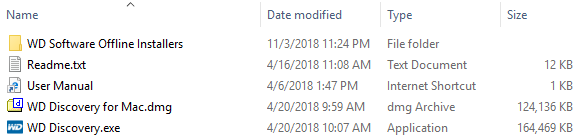
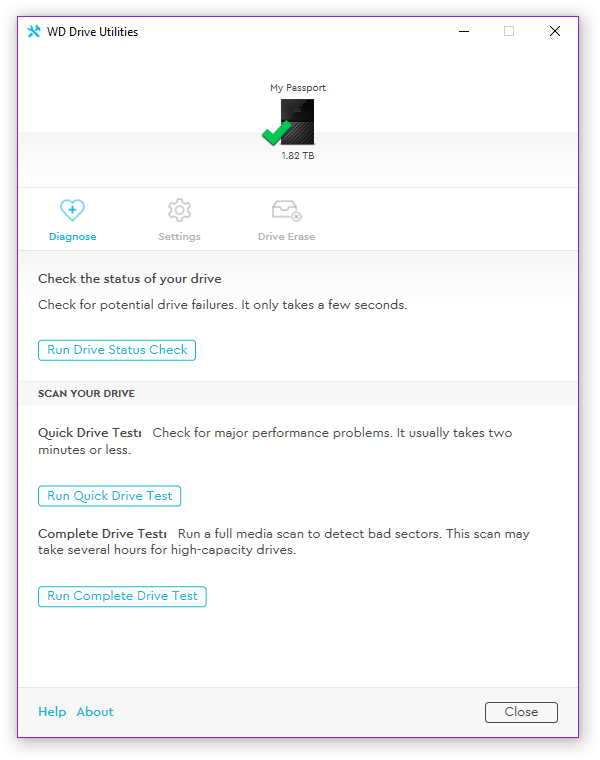
I installed the WD Discovery software to see what it’s all about. It contains
- software that audits drive health and diagnoses problems (much like Intel SSD Toolbox does for my Intel SSD 530),
- software that schedules complete system backups for you,
- software that can encrypt your drive to restrict unauthorized access, and
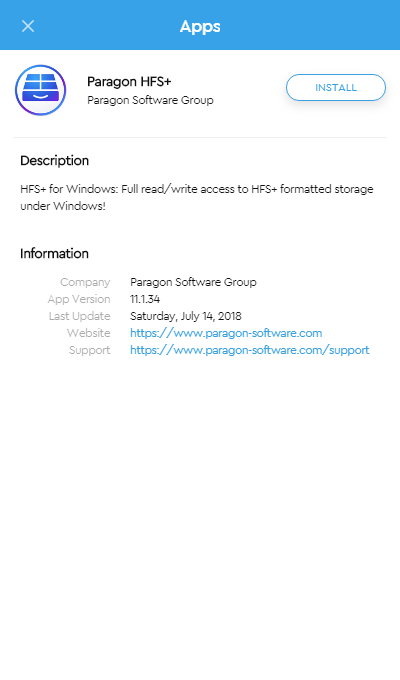
- an installer for a driver that enables read/write access to Mac partitions on Windows.
I won’t be using most of the software that comes bundled with WD Discovery, though. Backup software has never been something I use for my PC.
Here’s how I’ve backed up my Mac and PC for the last almost 1 decade (since I owned my first Mac, anyway). My Mac is backed up using Time Machine while my PC is backed up manually, with lots and lots of copy-and-paste operations. Time Machine is pretty straightforward, but for those who have never used a Mac, it’s a complete system backup with incremental history with an over-the-top UI for retrieving older versions of individual files and folders.
Here’s a non-exhaustive-but-mostly-there summary of what I back up manually for my PC:
- Local backups of mobile devices, including my Lumia 830 and every iPhone I’ve ever owned
- Local and roaming app data that I want to persist across PC builds, including saved games
- Customized program files, including shims and manual patches, and the ProgramData folder
- Documents, pictures, music and videos from my data drive, including saved games that for whatever reason many PC games like to put in the Documents folder rather than the Saved Games folder and I’m lazy to create a junction pointing the former to the latter for every game I install that does it
- Downloads, which are usually stored on my boot drive
- System settings, including the hosts file
- Font files
Unfortunately, because it’s all manual and selective, I don’t have a way to back stuff up automatically and on schedule. I could possibly write and maintain a scheduled task (the Windows name for cron jobs) that backs up specific folders for me, but it’s probably not going to be trivial and I don’t know when I’d be able to sit down and spend time hacking one together.
My approach hasn’t really changed with my new hardware, except now I have redundancy… which also means I have to perform the same backup tasks twice, manually, now. That’s gonna be a lot of waiting. Maybe I have an even more compelling reason to do something to automate each backup operation for each drive (I will, of course, not automate backing up both at the same time, as that’s going to end up defeating the purpose of redundancy).
But yes, redundant backups are good for when one (hopefully just one) of your backup drives fails. You know, like my last one did. Now, I always knew I needed redundancy for my backups, and I did keep some redundancy… in my PC’s data drive, because any redundancy is better than no redundancy. But my parents wouldn’t let me have any; they didn’t think it was worth the investment. Now they’re convinced. I’m just bummed it took an actual data loss on my end to convince them, you know?
Data recovery in case of backup failure
Not as much of a digression this time, because it’s actually relevant to what I’m about to share. Notice that each WD My Passport box has a sticker on it advertising the Ontrack data recovery service. Apparently, every WD My Passport drive — at least sold in Singapore where I live, I’m not sure about other regions — comes with an Ontrack Data Recovery Protection Plan, which provides a free year of data recovery, and an optional second year for an additional $25. Every Seagate Backup Plus drive on the other hand comes with a 2-month Adobe Creative Cloud Photography plan which is of no use to me.
Hopefully it won’t come to a point where I’ll need data recovery for a backup drive, but the only way to reduce the dependency on and criticality of that service is to keep my redundant backup as close to what’s current as possible.
Comments are closed.